See how the other parts of this saga happened in January, but this one comes in February? It pretty much defines my relationship with bottling: I despise the process. The main pain is the fact that you have to sterilise and rinse a seemingly infintie quantity of bottles. It's not so bad if you have helpers and can set up an assembly line, but if you're doing it solo, be prepared for an hour or so of tedium (tunes help a lot, by the way). The alternative, and believe me, I have been tempted, is to just guzzle the whole batch straight out of the carboy. It won't have fizz, but it will still be awesome!
Ok. Assuming you have conquered your Viking leanings, let's get this batch in bottles. The idea behind bottling is two fold. First, you want to seal the brew away so that it can be stored and aged without any exposure to air. Second, most people like a little fizz in their beer, and this is your chance to add carbonation to the brew. To carbonate, we add a little extra sugar to the batch just before bottling. This gives the yeast something new to work on, but since there is a cap on the bottle, the CO2 they produce can't escape. Voila! Fizz! The key is to add just the right amount of sugar, hence the whole specific gravity thing. (More on that in a second.)
Most people (I think -- I don't know really, since I'm pretty Lone Wolf on this whole brewing thing, but from what I've read and from the weird looks I get at the brew supply shop when I mention my fly-by-night process) decide to bottle by measuring the specific gravity of their brew over a period of several days. If the specific gravity doesn't change it means that fermentation has stopped. This is a good thing to be sure of, since if you have a bunch of un-fermented sugar in your beer and bottle it, you can pretty much be certain that the fermentation will continue after bottling, the pressure will build up to extremes, and your nice bottles of beer will start exploding all over the place. Me, I let the brew sit around for a couple of weeks, I keep an eye on the air-lock, and decide to bottle when a) I finally work up the gumption to deal with this arduous process, and b) it looks like fermentation is done because the air-lock hasn't done anything in a few days. (I can't recommend that YOU do this, since I don't want your bottles to explode, I'm just explaining what I do at the FBNB -- Fly By Night Brewery.)

ANYWAY, let's get on with it. On the equipment front, you'll need a bucket, your fermented brew, a bottle capper, caps, enough bottles to hold your batch (glass bottles please, plastic sucks), your siphon hoses, and a small sauce pan. My capper adjusts automatically to the height of my bottles, and I highly recommend you get one like that if you plan to have a higgledy-piggledy collection of differently sized bottles like me.
To begin, we need to get all those bottles sterilised. I mix up a 5 gallon batch of Diversol in an empty primary fermenter. (By the way, it's good to have a couple of these puppies in stock so you can brew and bottle without ever having to say "Oh man! My primary has a batch of beer in it!! How can I bottle now?!")
Then I inspect my bottles. When I pour a beer, I usually rinse the bottle striaght-away to avoid it getting all mouldy inside. Occasionally, however, I sometimes forget, as is evident from the bottom of this poor bottle. I don't like gobs of mould floating around in my steriliser, so I just recycle any bottle that looks like this and go for a clean one instead. You should too.
Plunk your mould-free bottles into the fermenter full of sterliser, let the air bubble out, and let them sit for a few minutes (again, I have no idea how long, I just wing it).
After this unspecified period of time, drain the bottles (back into the fermenter) and put them in your sink.
Get a new batch of bottles on the go right away.
Now, I like to rinse the outside of ALL my bottles before I rinse the insides. (You have to add that brass thingy from the previous post to the tap to rinse the insides, so I prefer to do that all at once.) So, give the bottles a quick rinse on the outside and set them aside while you sterilise all the other batches of bottles.
Speaking of the brass thingy, there are a couple of other pieces of equipment you want to get sterile at the same time. One is the brass thingy (no duh!) that you use to rinse the bottles, another is a bottling wand (a little tube with a plunger in the bottom that is ABSOLUTELY ESSENTIAL unless you like big messes), and all your bottle caps.
I usually just chuck all this stuff in the fermenter of Diversol while I attend to the insides of the bottles. (Note I have the siphon hoses stuck in there in this photo too -- I'll flip the carboy cane over somewhere around the half-way point.)
Ok, once all the bottles are ready on the outside, fish your little brass thingy out of the steriliser, rinse it, and attach it to your tap.
Then crank the hot water on, and rinse the insides of all your bottles. I ususally do around 4 blasts, each lasting 4-5 seconds. I let the bottle drain between each rinse. I have no idea if this is excessive or what, but I don't want any weird sterilisers in my beer, so I rinse with reckless abandon!
Once all your bottles are done, it's time to get the priming sugar ready. This is the sugar the yeast will use to carbonate your brew. I use powdered malt for this process. I like my beers to be 100% malt (with some honey in there now and then), and so I refuse to use the corn sugar (dextrose) that some people use at bottling time. I'm sure it works, but it seems like cutting corners to me, and this seems extra crazy to do at the very last step. In terms of quantiy, a 4 gallon batch needs 1 cup of powdered malt (if you're doing a 3 gallon batch use 3/4 cup, and for 5 gallons use 1 1/4 cups -- easy!). I won't tell you how much corn sugar you need in an effort to deliver you from temptation.
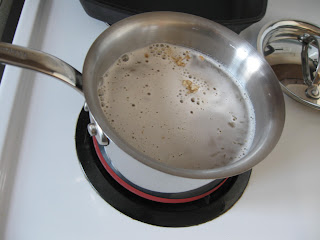
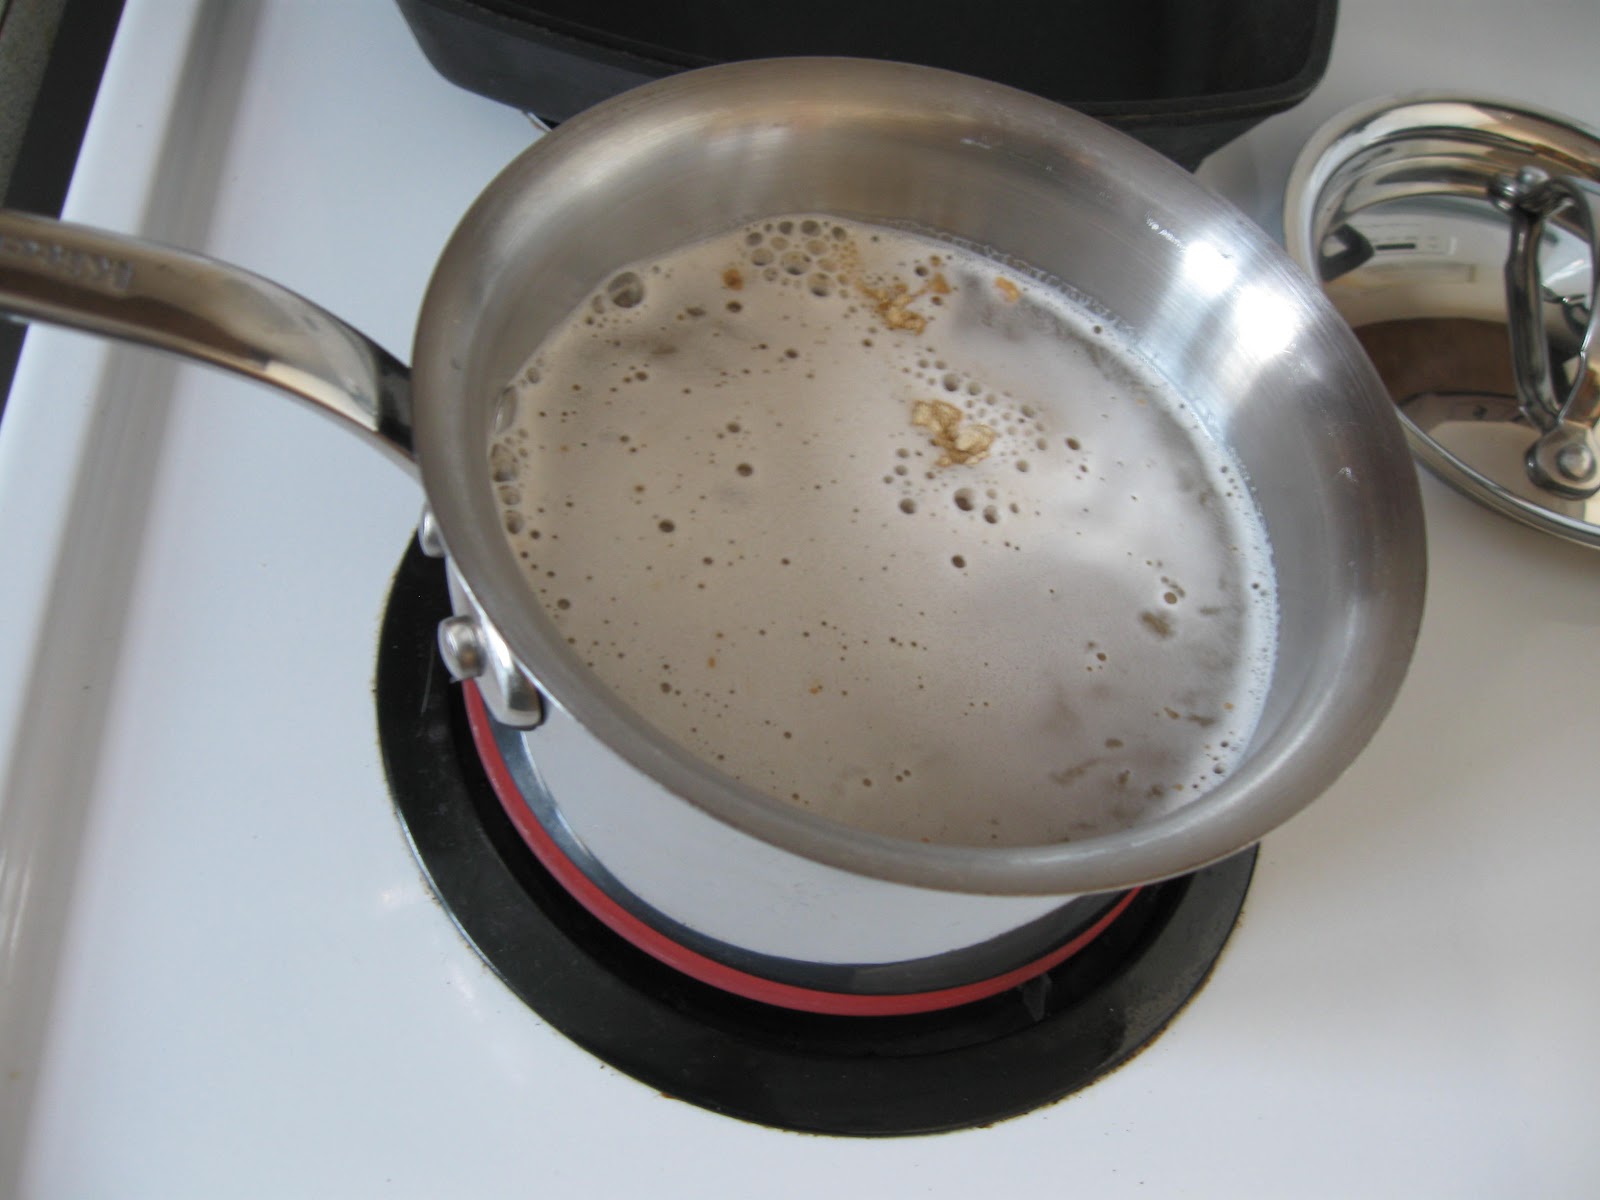
The trick here is that your beer is (hopefully) all happy and free of bacteria and rogue yeasts, and you want to keep it that way. To do so, you need to boil the sugar in 2 cups of water to make sure it is sterile too. So do that. Just watch out for boil-overs here too -- it is even more likely in the small pan, so be careful. After 5 to 10 minutes of boiling, your priming sugar should be nice and safe.
Pop the lid on your pot and let it cool while you head down to the basement for round two.
Ok -- still some work to be done down here. You have a load of caps that need to be rinsed (if you put them in the bucket a while ago like I suggested). I keep them in a two-cup measuring cup in the steriliser, and keep them in that cup while I rinse them too. It's a handy way to avoid total chaos, and gives you some where to put them until you need them.
I also rinse out the bottling wand and put it in the measuring cup, and if I'm racking a batch at the same time as I am bottling, I put the air-lock and bung for the carboy in there too. Multi-tasking rocks! Once all the stuff is out of the primary fermenter, rinse that too since you'll need it in the next step.
Now it's time for the
mise-en-place (remember it's French for "get your shit together.") Here we have the bottles, the capper, the caps, the bottling wand, the carboy of brew, the clean primary fermenter, and a spare bucket all ready to go.
Step one is to get your priming sugar into the sterile fermenter bucket. We're going to transfer the brew from the carboy into this bucket to ensure that the sugar gets distributed evenly throughout the batch. (It's possible to put a little sugar into each bottle and go from there, but I hope you're not THAT crazy!)
Let the hot sugar cool a little while you get your siphon hoses all rinsed and charged with clean water (see
here for some more-or-less guidance on that whole nightmare.)
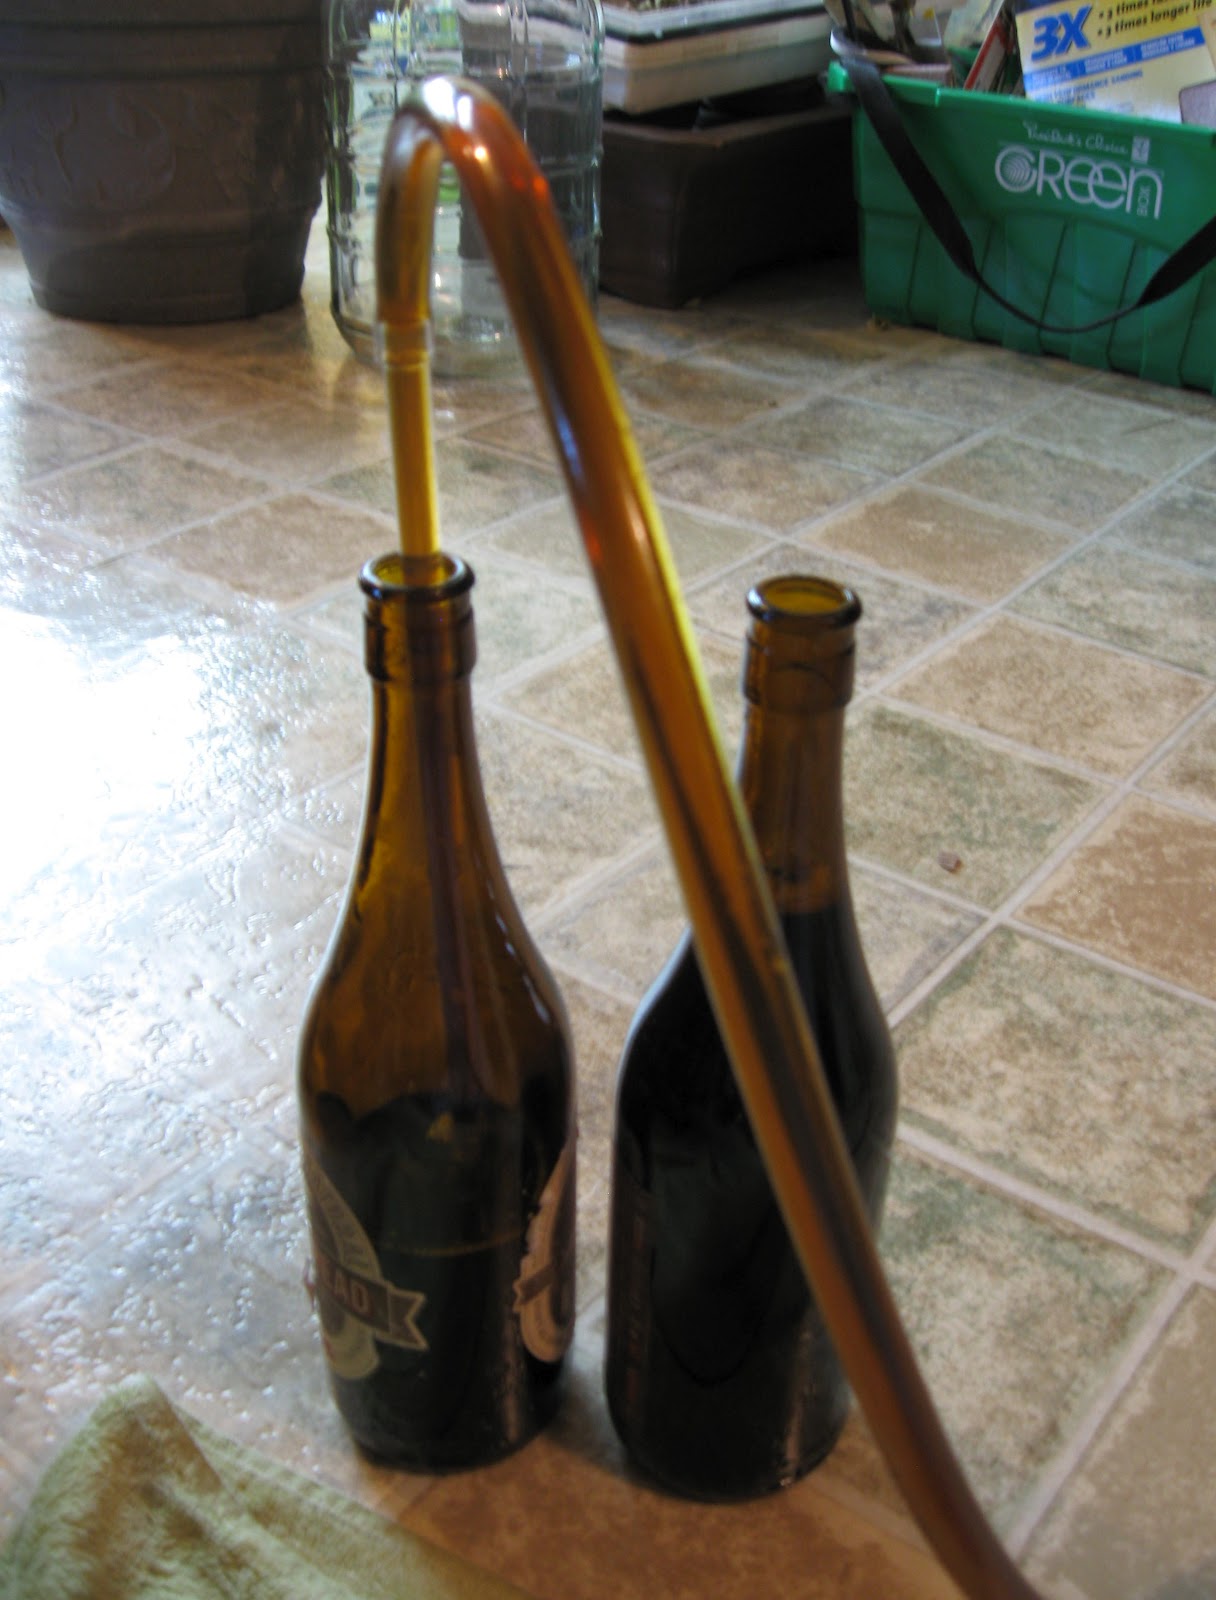
When your hose is charged and ready to go, (remember the Kung-Fu grip!) pop the air-lock off of your carboy, get the carboy cane in there, and drain the charging water out into a bucket on the floor. Once the hose is running pure beer, pour yourself a quick sample -- it should reflect the final brew pretty well, minus the carbonation of course.
Drain the carboy...
into your bucket until you reach the gunky goo at the bottom of the carboy. At this point stop the flow with the little plastic clamp on the siphon hose. Now you have to get the bottling wand on there.
I raise the business end of the flexible siphon hose until it is more-or-less level with the liquid remaining in the carboy.
Then I wiggle the bottling wand on to the end of the flexible hose. I have no idea how anyone else pulls this off (cf. Lone Wolf, above) but this works for me.
Then, and this is important. I plunk the bottling wand down to the bottom of the primary brew bucket to force-out any air that's trapped in there. The wand has a little plunger that opens the flow when it touches the bottom of a bottle or a bucket, and that stops the flow as soon as you lift it from the bottom. So, just give the wand a tap on the bottom of the bucket, let the air out, then lift it and you have a charged bottling siphon hose ready to go!
Now for the switcheroo. The bucket on the floor is now the source, so you have to lift it up onto a table so the righteous brew can flow down into your bottles. Keep the bottling wand below the level of the carboy while you do this -- if you lift it higher than the carboy level, the back pressure will trip the plunger in the wand and you'll lose the beer that is charging the siphon hose. Not a disaster, but it sucks since you have to re-charge with water, re-attach the wand, etc....

Then you have to move the carboy cane over from the carboy into the bucket of primed brew. The trick here is to grab the little plunger at the end of the bottling wand BEFORE you lift the carboy cane out of the remaing liquid in the carboy -- this keeps the back pressure from opening the plunger because you're pinching it with all your might. Once the cane has switched buckets, you're good to go and can let go of the plunger. (This all sounds horribly complicated, but it is much easier in practice -- invite me over and I can help out in person: cost = several free beers [deal of the century!])
OK! Bottling time! Get a clean bottle, plunk the bottling wand in there, and fill it to the top. When you take the wand out it will leave the perfect amount of airspace in the bottle.
Get another bottle going,
and continue until you run out of brew! I like to bottle in 600ml bottles for most of the batch, but I also fill a few small ones for testing.
Then cap! Put a full bottle on your capper...
add a cap...
and lever it down.
Voila!
Continue until you run out of full bottles (hopefully this is before you run out of caps).
Isn't this a wonderful hobby?!
By the way, be sure you don't let any remaining brew go to waste. It is wonderful just as it is, and gives you a chance to get in touch with your inner Viking. It's tasty sweet!!
Label your caps so you know what's in there (because you WILL brew more!).
Label the box you'll keep it in, so you know what's in there too.
Then let the beer rest at room temperature for a week or so to give the yeast a chance to get its job done. Test a bottle now and then to be sure the carbonation has developed (if it hasn't, Charlie recommends all kinds of remedial measures, but -- knock on wood -- I have never needed them -- just keep waiting and relax!). Then you can move the batch to cold storage to let it age and develop or you can just start drinking it.
CHEERS!! This concludes the brewing saga! I hope this clarifies some of the tricky bits of the process. At its heart, brewing is a simple yet marvelous alchemy, and I hope the few tricks I've learned along the way will help you brew brilliant batches of your own! No matter what, be sure to keep it fun -- it's the best hobby ever!! (except for the bottling part.)


You can also put your brew in a Quoin Party Pig or in bigger bottles or in 64-oz. growlers with swing-tops and rubber stoppers. Just sayin'. Signed, Hates the Bottling Process Too.
ReplyDelete