Sunday, August 28, 2011

Cherry Clafoutis

I'm pretty sure cherries are my favourite fruit. I could eat them all day just as they are. They certainly don't need to be dressed up to make them special, but once in a while it's fun to turn them into something spectacular. Bring on the clafoutis!

This recipe comes from Earth to Tabe by Jeff Crump and Bettina Schormann. It's a groovy little book with recipes arranged by season and augmented by interesting stories and profiles of farmers and chefs. It's also Canadian, so what more could you ask for, really?

A clafoutis is basically a big pancake with fruit in it based on batter like that used for Yorkshire puddings or our old friend the Dutch Baby. You'll need 1/2 cup of flour, 1/2 cup of sugar, 3 tablespoons of ground almonds, 1/2 teaspoon of salt, 4 eggs, 1 1/2 cups of whipping cream, 1 teaspoon of vanilla extract, the zest from one orange and one lemon, and a bowl of cherries. (I ran out of lemons after the lemonade extravaganza the other day, so I subbed in a lime and it worked just fine.)

The first step is to make the batter since it needs to sit in the fridge for a few hours before you use it.

Grind the almonds into flour. I have a coffee grinder that I use for spices that works great for this. Sift through the flour with your fingers and take out any big chunks that are still in there. Don't be too fussy about it since toothsome morsels of almond are a great surprise while you're eating.

Mix the dry ingredients and the wet ones in separate bowls.

Combine.

Then cover and put in the fridge for anywhere from 30 minutes to 12 hours.

When baking time arrives, heat your oven to 350 and get your pans ready. You can make this in a single dish, or as individual little cakes. The book this came from showed a picture of these clafoutis in 8" skillets. That photo was my whole inspiration for doing this dish, but since I wanted to make individual servings I decided to get my fleet of 6" skillets ready for another culinary excursion. If you're using skillets, put a pat of butter in each one and pop them in the heated oven for about 2 minutes to warm up. Swirl the butter around, and then proceed with assembly. You could also use 6 ceramic ramekins here, or a single 3 cup baking dish. Don't bother heating them first, but do bother buttering them up.

While the oven is heating, prepare your cherries. You'll need a cherry pitter to make this bearable. This is not as specialised a tool as it sounds, since you can also use it for olives. (I know, phew!)

If you do one thing carefully in this whole recipe, this should be it. Go slowly with the pitting and make sure the pit pops out of the bottom of each cherry. It is EXTRA nasty to chomp down on one of these things in the finished dish. Cherry pitters are great at removing pits, but they are not great at keeping cherry juice from flying all around your kitchen. I recommend doing this in a bowl in the sink unless you're a fan of cleaning.

When everything is ready, get your batter out of the fridge. Give it a stir and transfer it to something that can pour well.

Put about 8 or 9 cherries in each pan.

Pour the batter over the cherries. You could try and measure it out, but eye balling it seems to work ok for me.

Put them in the oven for about 45 minutes and voila! (The recipe calls for an hour if you use one big 3 cup baking pan and 40 minutes if you go for 6 ramekins.) I moved the pans around before the last 5 minutes to help the tops brown up evenly.

The book recommends you wait 20 minutes before serving -- I'm sure I didn't wait that long, but they do benefit from a bit of time to settle. Serve in the pan if you like or ease them out onto plates. They are great on their own, but a little whipped cream, ice cream, or maybe a sprinkle of icing sugar would all be great. I prefer a more liquid accompaniment, personally.

Enjoy!

Saturday, August 27, 2011

Lemonade

This as actually a recipe for a lemon flavoured syrup as opposed to lemonade per se. I mean, who needs a recipe for lemonade, right? Juice a couple of lemons, put the juice in a glass, add about 3 tablespoons of sugar, fill with water, stir forever, and voila! The purpose of this recipe is to avoid the "stir forever" part, and to get more mileage out of your precious lemons. So onwards!

The basic recipe for this comes from The Joy of Cooking. There is a cool section in there on drinks, and sugar syrups is my favourite part of that section. I found their version to be a little to lean on lemonyness (someone call Oxford!) so I've modified it a little.

A basic sugar syrup calls for two cups of sugar and one cup of water. You just need to add lemon juice to this basic sugar syrup later to make your instant lemonade mix. I'm telling you this now because I've determined (through much trial and error) that the perfect ratio of lemon juice to sugar (for me) is 1 to 1. The recipe in the book calls for 2 parts sugar to one part lemon juice -- this 100% difference tells you there is some leeway here, but if you want to reproduce Joe's Perfect Lemon Syrup, you'll need about 6 lemons, 2 cups of sugar, and a cup of water. And if you're feeling wild and crazy, throw the juice from some limes and/or oranges in there too!

The first thing to do is get the peel off of three of the lemons. Try to remove as little of the white pith as possible. I like to use organic lemons for at least this part in the optimistic hope that they aren't covered in wax and pesticde (they will be covered in mould spores however, so choose your poison; rinse them well regardless).

Juice all the lemons (and an orange or a lime too). Put the juice in the fridge until later. You should have about two cups of juice. If you don't, don't sweat it -- if you're between one and two cups you should be fine. Just remember how much juice you had and see if you like how sweet your lemonade comes out and adjust accordingly next time. (And oh yes, there will be a next time!) Or, if you're a big smarty pants, reduce the amount of sugar and water you use in the next step so that your sugar:lemon juice ratio stays at 1:1.

Ok, now for the sugar. Put two cups (or whatever, see above) of sugar into a sauce pan and add one cup (or whatever, see above too) of water. I am always amazed that two cups of sugar can dissolve in one cup of water. I stop being amazed as soon as I remember how long it takes.

Add your lemon rinds to the sauce pan and heat somewhere between low and medium, stirring occasionally until the sugar dissolves. You are bound to raise the heat as you get frustrated with how long this takes, so start lowish. Like I said, this takes FOREVER. (Ok, half an hour.) Don't be tempted to crank the heat too much, or you'll get a boil over that will leave you and your kitchen sticky til the end of your days.

I judge that my sugar is dissolved when I can see the bottom of the pan fairly clearly. The sugar I use still has some molasses in it, so my mix is more brown than yours will be if you use white sugar. Once the sugar is dissolved, cover and simmer for 5 more minutes.


Now turn off the heat and let your syrup cool.

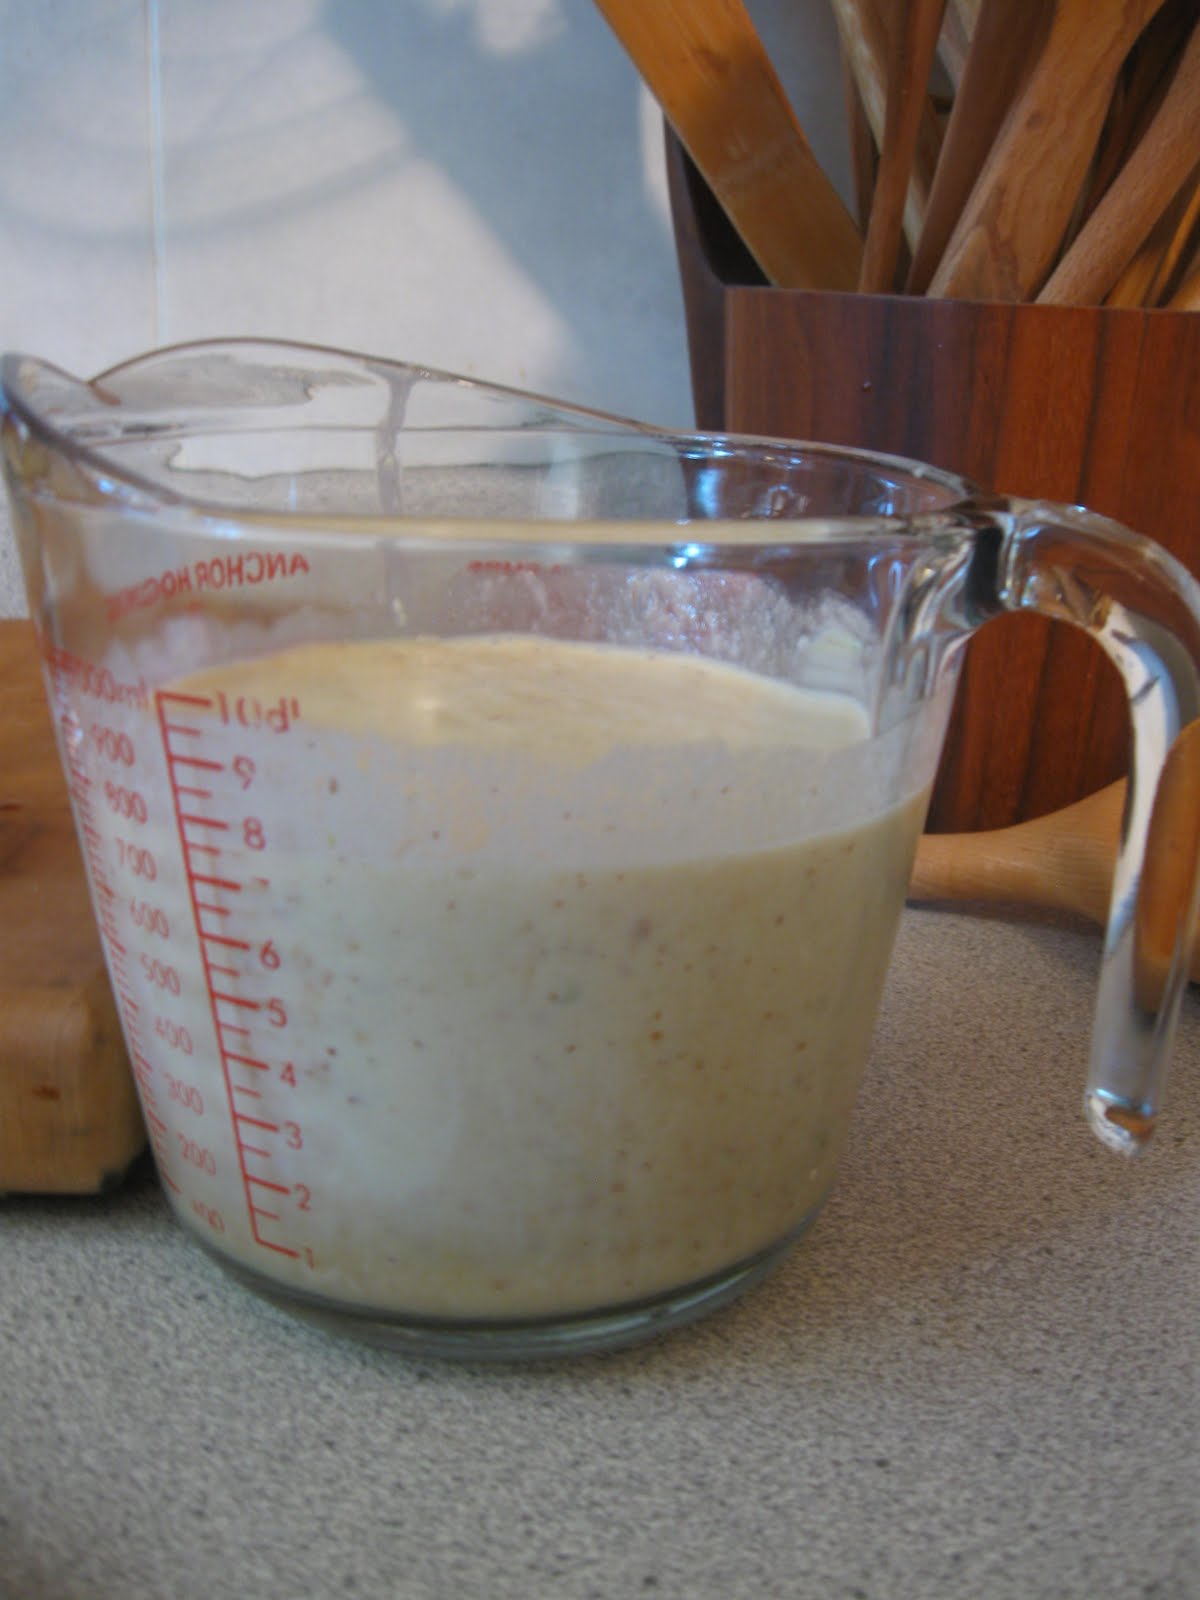
When the sugar syrup is cool, get your lemon juice out of the fridge and pour it into the sugar syrup. Then get a funnel and some bottles ready to receive your genius creation! (Note: You should probably sterilise your bottles first if you expect this to sit around in the fridge forever. However if that's the case, you probably shouldn't bother making it. My genius way of avoiding this tedious step is to use the stuff up fast.)

I have a cool funnel with a strainer built in, but if you are not so fortunate, you'll need to use a seive to get the lemon rinds and any stray seeds out of your syrup.

Bottle up, and store it in the fridge. I like to use old whisky (or whiskey, depending) bottles for this. I figure they are pretty sterile to start with, and if there happens to be a few drops of booze in the bottom at bottling time, then so much the better. (Which reminds me, this mix is great for Lyncburg Lemonade if you are so inclined.)

To use your syrup, pour a bit in a glass and fill with water. That's it! I go for somewhere between 5 and 10 parts water for each part of syrup (i.e. about one finger of lemon syrup in a 250 ml glass) but try a couple and see what suits your fancy. I find a batch lasts less than a week (a couple of days if it's hot) but it is SO much better than any commercial lemonade preparation I've tried that it is well worth the effort!

Cheers to the lovely lemon!

Monday, August 1, 2011

Save the squash!

Well, as luck would have it one of my squashes has made it (knock on wood) through the squirrel onslaught. The trouble is that it is in the most ridiculous place, way up in the air on a bean pole. I was certain that if it got too heavy it would break the vines that are keeping it alive, so a little help was called for.

Ashley's Book of Knots to the rescue! This book has every knot ever dreamed up (and then some) so I figured it would be a great place to go for advice on how to make a net. I thought a little hammock would be a great way to keep the squash supported while it grows without risking it rotting away if it sat on a soggy cloth or some other contraption.

Lo' and behold, I was right (about the net part, not about the soggy part -- although I am probably right about that too).

The first step is to cut some string. I used 5 strands (they get folded in half when attached to a lead string, so you get 10 lines in the end). Make them pretty long, because they will get reduced to about a quarter of their length after they are folded over and knotted up.

Tie an anchor line across two supports (I used the picnic table). Then loop each string at the half way point.

Put the loop on the anchor line and feed the loose ends around the anchor and through the loop to make a lark's head type of knot.

Tighten it up (very useful that the camera focused on the patio stones).

And do the same with your other 4 strings.

Make an overhand knot a little way down the second string from the left.

Then take the string to the right and make an overhand knot the other way round so that it goes through the loop of the first knot. It should look like this. (The first one is the toughest!)

Tighten them up, and voila: first knot! Then do the same with the next pair of strings, and continue along the row to the end. When you reach the end, go back the other way, but alternate strands so that your next row of knots is under a space as opposed to being under an existing knot.

Once you run out of string, tie the last row off to another lead string (I guess this should be called an end string), and you're done! This won't win any beauty contests, but it should do the trick.

Then came the massive struggle with the beans, the bean poles, and the squash vines to get the damned thing attached, but it worked and looks pretty cool if you ask me! Now I know how to make a net -- I am sure this will be a useful skill post-Apocalypse for catching mutant shrews and stuff, so I figure I killed two birds with one stone here (provided I can still buy string).

The Ashley Book of Knots is a great reference. I think it would be cool if someone did a blog about it, like Julia and Julia, where they make every knot in the book. They could call it Arthur and Ashley or something. It won't be me though. First, I am not named Arthur, and second there are around 4,000 knots in the book so you'd need a year of 10 knots per day, which strikes me as nuts. I'd be 80 before I got to page 10.

ANYWAY, there you have it! Fingers crossed that the evil squirrels don't find our airborne delicacy!