Sunday, May 29, 2011

Gumbo

Oh frabjous day! I was rummaging through a box of magazines yesterday trying to find something which I never found when I came across an old issue of Fine Cooking sandwiched between some fishing mags. I took this to be a sign and decided I'd better take a look. I'm glad I did, because I stumbled across a wonderful article on gumbo by Poppy Tooker (best name EVER!). As you can imagine, gumbo defined my day today.

The opening lines of Poppy's article are pretty clear: "Throughout food-obsessed South Louisiana there is no single dish more revered and debated than gumbo. Everyone loves it, but that is where any consensus regarding the centuries-old, soupy, stewy concoction ends." What this means is that what follows may offend if you have a different view of gumbo, but if it does, you can blame Fine Cooking.

Basically, gumbo is a stew that is thickend with either okra or filé (ground sassafras leaves). My okra looks like this at the moment (i.e. not ready) so the filé version made the most sense for me.

(And wonder of wonders I had a bottle of filé in my pantry! Destiny!!)

For this recipe, you'll need a pound of sausage (andouille is best, but I had to sub chorizo since Piggy Market was fresh out of andouille), some Louisiana-style hot sauce, a chicken, a green pepper, 3 stalks of celery, a big onion (or two small ones), some garlic, a couple of sprigs of thyme, a couple of bay leaves, green onions for garnish, a cup of four, 1/2 cup of bacon (or other, as if!) fat, and 2 litres of chicken stock.

The first step is to pick an appropriate apron, and get some Cajun tunes on (I went for Beausoleil and Buckwheat Zydeco). The next thing to do is get your chicken stock thawing if you keep it in the freezer like me. I warm the containers in hot water and then dump them in a pot to heat up while I get the rest of the recipe going.

The first cooking task is the get the sausage ready. Slice them lengthwise, and then into half moons. Get these frying in a nice big skillet.

Once they're all browned, remove them to a bowl. Then add 1/2 cup of water to the frying pan to deglaze it. Save this liquid for later.

Now for the chicken. The recipe says to cut it into 8 pieces.

I presume these are the 8 pieces it means: two wings, two drumsticks, two breasts, and two thighs. I also used the back, since I had no space in the freezer and figued I may as well use it now.

Get your biggest, baddest Dutch Oven (i.e. the 7 1/2 quart dark orange bad boy) on the burner and heat your fat. I used bacon grease (apparently the Cajuns used bear grease, but I'm all out), you can also use 1/2 cup of vegetable oil if you like.

Brown the chicken in two batches, giving each piece 3-4 minutes per side. (This Dutch oven is the perfect size for browning 1/2 chicken at a time.)

When they're done, add them to the bowl with the sausage (it was all I could do not to stick my face in there and eat it all up!)

While the chicken is browning, prepare your mirepoix. As you know, mirepoix usually consists of carrot, onion, and celery. According to Poppy Tooker, carrots didn't grow well in Southern Louisiana so folks used green pepper instead as the flavour base for their cooking. So chop your pepper, onion, and celery nice and fine for this Cajun version of the universal flavour base.

Once the chicken is all done, you need to prepare a roux. According to Poppy, the roux is the key to this dish, so it pays to do it right. Gradually pour the cup of flour into the fat in the Dutch oven, and mix it to a smooth paste.

If it lumps up like this, add some more oil until it is nice and smooth...

...like this.

Now get ready to stir. And stir. And stir. Until your roux turns a nice caramel colour. (The recipe recommends a fairly high heat and about 8 minutes for this -- I think I'm more old school, since the recipe also says some people used to use lower heat and sit around and stir for about 40 minutes to get a nice brown roux -- which is about exactly how long I was at it.)

Once the roux is brown enough for you, dump the mirepoix and garlic in there and stir it around for awhile. (I have to warn you that in all my years of cooking, I have never smelled a nicer aroma than Cajun mirepoix hitting a brown roux ... it is heaven!)

Once the onions etc. have softened to your satisfaction, get the stew going by adding the chicken stock, the sausage, the chicken, the bay, the tyme, the deglazing liquid from the sausages, and about a litre of water to top up the Dutch oven.

Bring this to the boil, then lower the heat and let it blup away for about 45 minutes.

Do some dishes now.

Once all that's done, get the chicken out of there and let it cool for a bit.

Then use a couple of forks (and massive willpower) to separate the chicken from the bones and skin, and break it into bite-sized pieces (you need the willpower to avoid eating it all right now).

Return the chicken to the pot, stir a little, and GET READY TO EAT! (Season with salt and pepper to taste first -- I added about 2 teaspoons of salt before I hit the sweet spot.)

To serve, pour the stew over about 1/4 cup of cooked rice. Let your diners add Tobasco to taste, and about 1 teaspoon of filé to each bowl. Filé is a thickener (and also adds flavour), but you can't add it to the whole pot, or it will turn into a stringy mess if you have any leftovers and put it in the fridge. Okra is the thickener used for seafood gumbos, and from what I understand you can even put okra and filé in the same gumbo if you like (although there are people out there who may disapprove of this -- like crossing the streams in Ghostbusters). You're also supposed to add the green onions as a garnish at this point, but I totally forgot.

And there you have it, gumbo filé! It's a great dish! Now all I need to do is whip up a jambalya and a crawfish pie, and I'll be ready to have a real party!

Bon appetit, cher!

Tuesday, May 17, 2011

Omelettes (Big Trouble in Little China style!)

This is a pretty classic two-egg omelette (with a twist, of course). The great thing about this dish is that it is super easy to customise on the fly (like meatloaf muffins) so that if there are any big likes or dislikes in the crowd you have to feed you can adapt each omelette to each customer. It is possible to dump a gazillion eggs in a bowl, whisk it up, and ladle the eggs out one omelette's worth at a time, but I find it much better to go two eggs at a time -- that gives you more customising room.

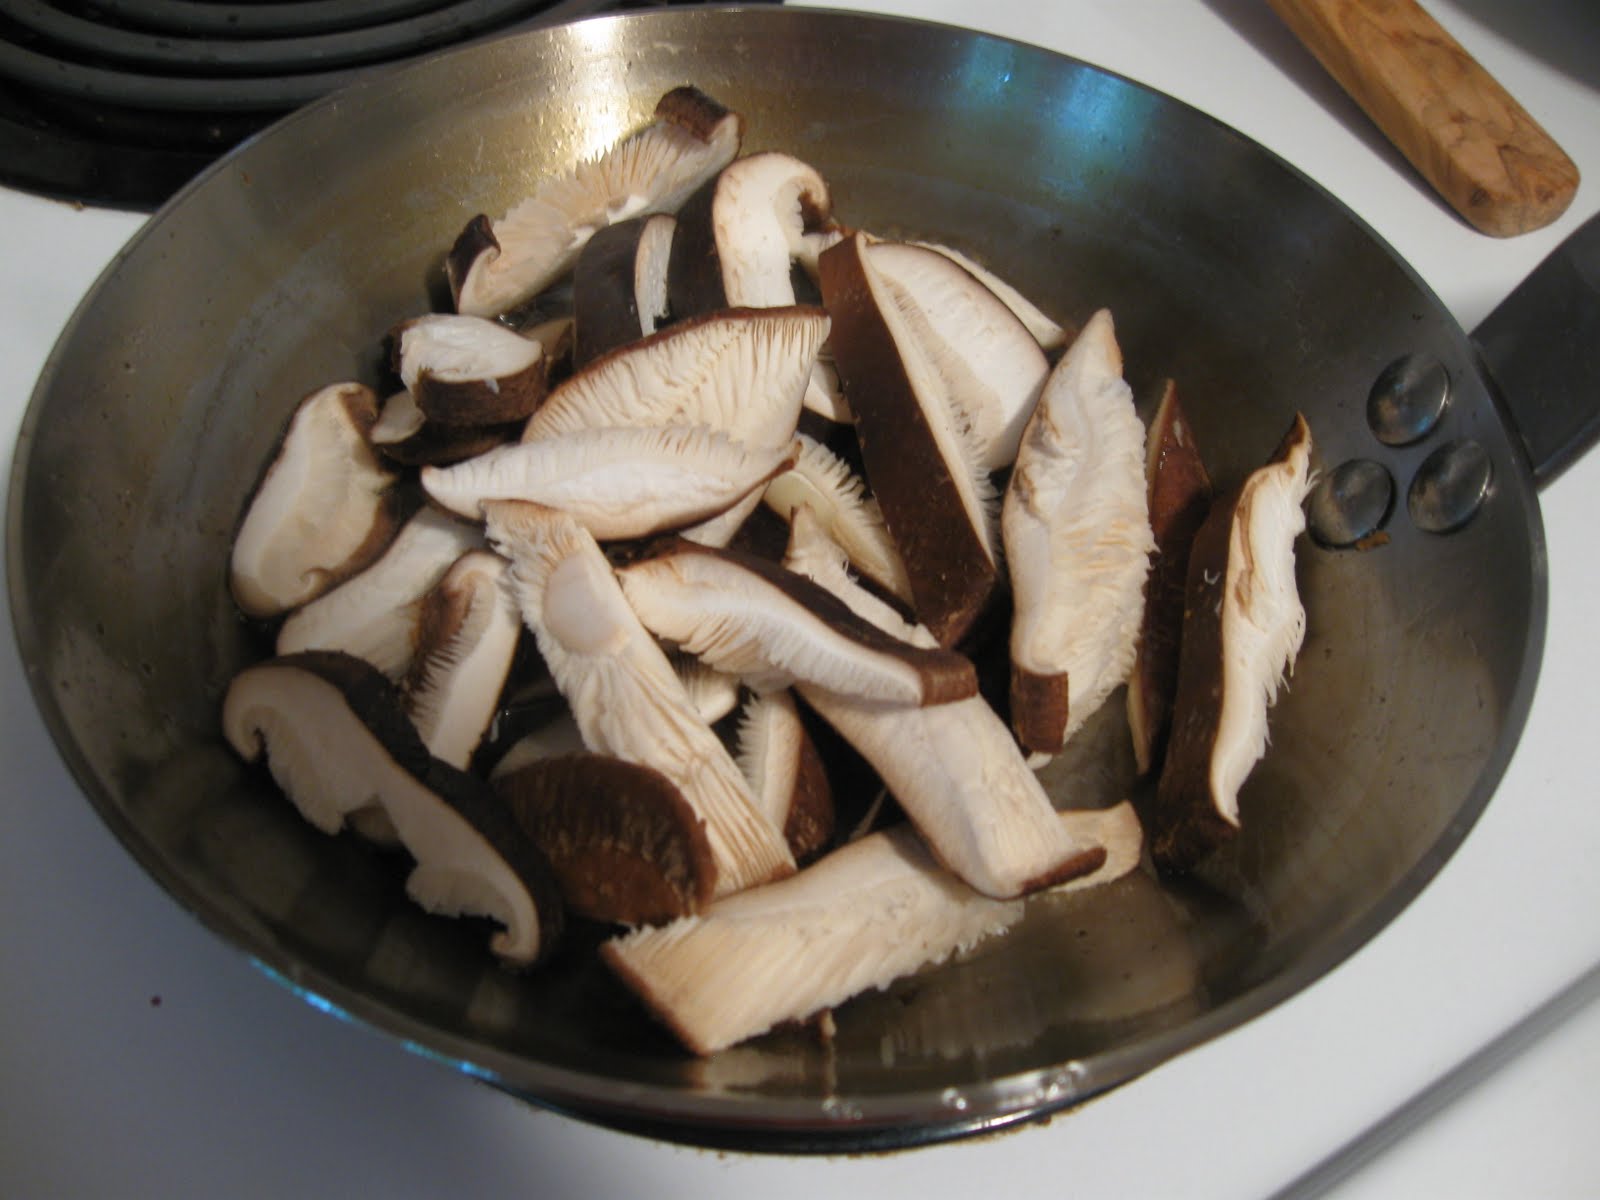
The basic ingredients are two eggs (SURPRISE) per omelette, and the rest is up to you. I've shown the spread for one of my favourites: bacon, chile flakes, Egyptian onions fresh from the garden, shiitake mushrooms, salt, pepper, chervil for garnish (also fresh from the garden), and butter for frying.

If bacon is involved in your omelette plan, get that going first. Add a splash of olive oil if the bacon looks a little lean. (Add some anyway, really, it can only make things better -- especially if you also have mushrooms in the plan, since they can soak up an AMAZING amount of fat and, well, we want to soak up as much as we can, really.)

This is one of those "I am frying bacon in olive oil but I really like my shirt" moments when you have to put on an apron. Pick a good one -- suitable for this more-or-less French cooking session.

While the bacon is chugging away, get your other filling ingredients going. All I had to work on here were the mushrooms. Another great thing to put in there is potatoes and onions with cheese. That means your should dice the potatoes and boil them for about 5 mins. Chop the onions while that's going on, and grate the cheese too. Then when the bacon is done, you can drain the potatoes and fry them with the onions in the bacon fat until browned up a little. Then get it all ready for the omelette filling phase.

In any event, once your bacon is done, get it out of the pan and fry up whatever else you want in the remaining fat. I really wanted to use my fresh new wild leeks today. John from work collected a bunch up in Parry Sound and dropped them off at my office today. Sadly, I forgot them in the office fridge in my haste to get the Hell out of there today. :( I will not forget them tomorrow! So, instead it's just bacon and mushrooms tonight.

(Incidentally, you can save your shiitake mushroom tails for soup stock etc. Just pull them off and let them dry on a plate for a week or so. Pop them in a jar and you can throw them into stocks or whatever when the fit takes you.)

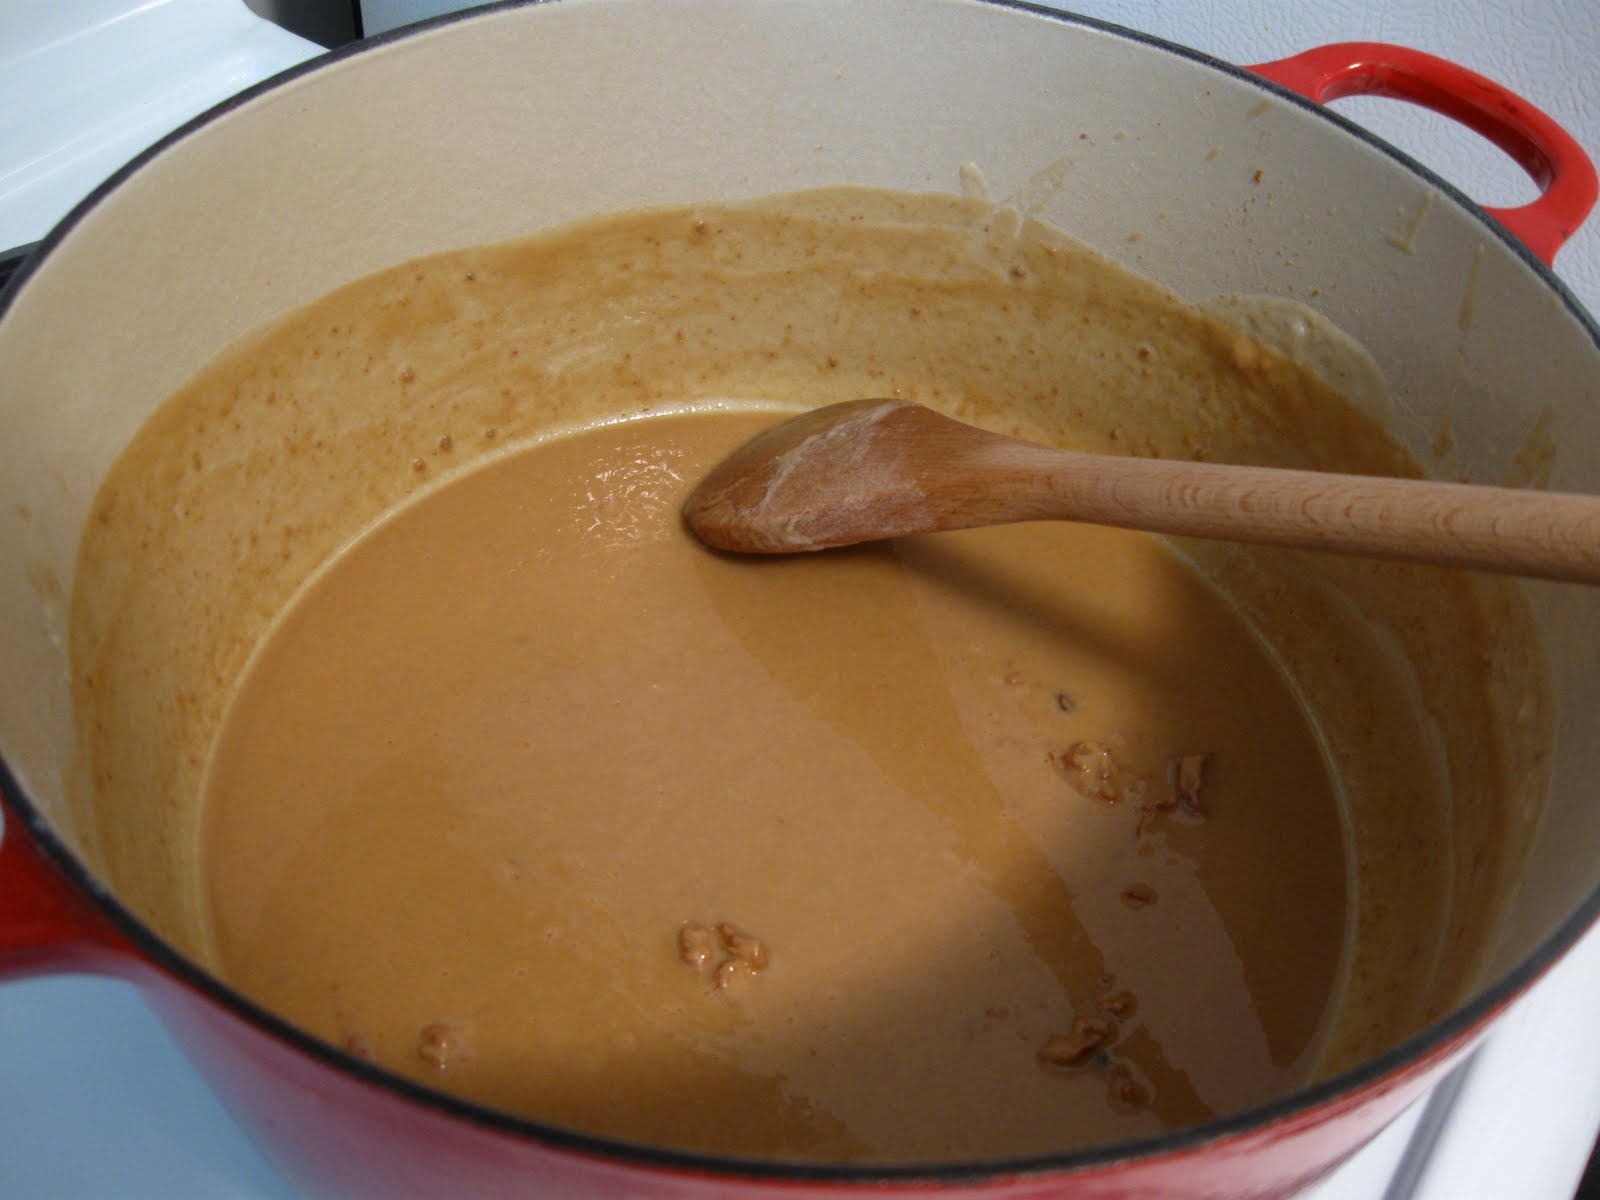
Ok, lets roll. Crack two eggs into a bowl, add a splash of water (maybe a tablespoon?) and whatever else you want. Salt and pepper are pretty much givens. Some chile flakes can be fun. A pile of green onions is cool too. This is your first chance to customise -- make the egg wrapper of your choice!

Whip all that around with a fork until it is nicely combined. Then get your omelette pan heating.

My pan of choice is a de Buyer iron pan. This is old school. This is pre-"Better Living Through Chemistry." I don't trust non-stick coatings any farther than I can spit, so those modern no-stick (ok, they came out in the 70s, but whatever) pans are not for me. (By the way, my eldest daughter can't use this expression, since she once won a watermelon seed spitting contest, sending the projectile some 16 feet at the tender age of 8 -- but that's another story.) I also like the workmanship of these, and the heft, and the shape, and the just plain old understated perfection of form and function they seem to exude. (No, I don't work for de Buyer.)

When your mushrooms are this awesome, you should be ready to get the eggs going.

Get a good wad of butter in your heated omelette pan -- don't be shy, this is old-school no-stick remember, and a good layer of butter is key. Let it sizzle until the water evaporates.

Then drop the eggs in.

Dab a spoon around in there for a bit. This helps distribute the eggs and evens them out in the pan. Then let them sit for a few minutes until the top is almost set.

This is a good time to prepare your garnish. I chose chervil for mine. It is like parsley, only the leaves are really small so it doesn't feel like you are eating paper. It also has a nice subtle licorice flavour -- it's great on everything. I don't think you can buy it, but if you get a patch going in your garden you'll probably never be able to get rid of it -- it's one of the best weeds I ever encountered!

By now you're probably saying "Wait a sec. What happened to the Big Trouble in Little China angle?"

Well, dear reader, it is now. You see, in my estimation, the bottom of an omelette gets too brown by the time the top sets, and it doesn't look all that great when you roll it out. My solution is to flip it. This is the no-guts-no-glory moment. This is the time to "Damn the torpedoes" and go "full steam ahead!". This is when you have to channel Jack Burton.

Jack Burton is the main character in Big Trouble in Little China. The relevant bit follows:

Jack: "You know what old Jack Burton always says at a time like this."

Bad Guy: "Who?"

Jack Burton: "JACK BURTON! ME!! Ol' Jack always says, 'What the Hell.'"

So, that's what you have to do. Jiggle the pan. If the omelette moves in one piece, steel your nerves, stand in an appropriate stance, say "What the Hell," and give a quick shake and flick of the wrist and...

Jack Burton: "It's all in the reflexes."

...voila! It will either look like this or it will land all over the stove/floor. Note that this is not at all necessary, you can skip this whole thing and just put your fillings in there without flipping, but when else will you get a chance to run through this whole dialogue? Seriously?!
Ok ... get your custom fillings in there and let the top cook for a second. Keep the filling to the left half of the pan (unless you use cheese, which should be spread all over).

Then slide the omelette onto a plate, and ...

...fold it over at the half-way point. Please excuse the blurry pics and the bubble in the middle -- I attribute this to trying to take a picture in the middle of the folding process.

If you are cooking for a crowd, put the finished omelettes in the oven at the lowest heat while you make the others.

Then garnish with your chervil, add some tomatoes, and if you are lucky, add some of the nice sopressata that Giuseppe gave you at work today. (You may have noticed that there are nice people at my work who give away cool food things. If you don't have this where you work you can a) talk to HR and try and find some people like that or b) follow the sage advice of Max Jackson who at the end of his sports casts on CKWS TV in Kingston always said "If you don't play a sport, be one!" which in this case means "If no one is bringing cool foodie things to work, then do it yourself and get the ball rolling!").

ANYWAY, mangia!

Saturday, May 14, 2011

Squash soup day 76 (and some other stuff)

Greeeeeetings! It's been a while since my last post. This is mostly due to the fact that I was off in Copenhagen for a work thing. If you haven't been there, I highly recommend it! The people are wonderful, the food is great, the beer is brilliant, and the city itself is beautiful. The highlight of the trip for me was the last night when I got caught up in an all night karaoke extravaganza with an Australian statistician and two U.S. Marines at Sam's Bar (this was even more fun that it sounds!).

Be that as it may, the relevant bit of this was that I had to devise an ingenious system to keep all my seedlings alive (one of which is the mythic potimarron squash I've been nuturing). Unfortunately, the weather forecast when I left called for rain the whole week, so I devised my system with this in mind, but of course the sun shone the whole week and it was the hottest stretch of the year so far. Luckily, all the plants made it through some how, so here's a post where they get put in the garden.

Here are the squash seedlings. They came up a few days before I left and have been chugging along merrily. They've been outside ever since the leaves came out, so there is no need to harden them off before they go in the ground.

The first step is to dig a hole about the same size as the pot.

Then pop the plants out of their pot. Just flip the pot upside down, cradling the seedlings between your fingers, and give the bottom a whack. Nice roots, eh?

Pop the root ball in the hole. (I do a lot of popping in the garden.)

And firm it in gently. Voila! Soup's on in 3 months or so!!

If you have dumb birds in your neighbourhood who like to dig up plants for no reason, some sticks are a good idea. Just make a little pile over the seedling to make it difficult for the birds to get in there. If they're lazy and dumb, you should be ok.

I also decided to put my tomatoes in today. Here they are getting laid out to check for spacing etc...

For tomatoes, you want to plant them deep ("up to their necks"). This lets them throw roots out from the buried stem part and helps make them more vigorous. To pull this off you should trim the lower leaves from the seedling. I just pinch them off. I was thinking that it is probably a good idea to do this a few days before you put the plants in so the stem can heal over, but I had this brainwave a little late.

Just pop (see?) your tomato into the deep hole, then...

...fill it in and firm it down a little. Lovely!

And here they all are, nice and cozy and ready for another predicted week of rain. This is a new garden bed, so I think the soil is fertile enough to get these cats going. If it was an older bed, I would have dumped a scoop or two of manure in each hole too. Also, if it is an older bed where there has been trouble with tomato leaf blight, I'd mulch the transplants right now with a good layer of straw or something. Leaf blight gets into the plant when rain splashes the virus up from the soil onto the leaves. Mulch helps keep the splashing from happening and saves your little darlings from a summer of misery.

Elsewhere in the garden, things are humming along nicely. I was particularly impressed by my hop plant. Last summer it was new to the garden and just sat there and pouted the whole time. This year it came up strong and ready to roll! Three cheers for hops!! Speaking of which...

...cheers!