Wednesday, July 11, 2012

Grilling tips

So there I was the other day, headed out to the backyard laden down with a load of grilling implements, food, and beer when I said to myself: "Joe, this grill kit rocks! You should share it with the world!" So here I am doing that right now... sort of. I decided to expand it a little with a couple of other tips to help make your grilling at least as good as mine (which isn't too bad, in my humble estimation)! So here we go, with a burger as our test subject.

First, you have to start a fire, which we covered here. It takes around 15 minutes for your chimney of charcoal to be ready (if you're using gas, I presume it takes as long, but you're pretty much on your own with that since I have no clue -- the kit below is something you may still find cool though).

While the fire is chugging away, get your burgers ready. I usually make half-pound burgers -- not for any specific reason other than that I am lazy (and breaking a pound of ground beef in half is easier than breaking it in any other fraction: and if you make one pound burgers, you're just plain crazy!). That's the whole recipe. Just beef. No salt, no crackers, no parsley, no onion or garlic salt, just beef. I mush the beef into a ball (like making snowballs for my fellow Canadians), then flatten it while working around the edge to prevent any splitting, and finally punch a little hole in the middle with a finger and thumb. This hole is the key to success -- it lets some heat into the middle of the patty so the burger cooks through more reliably, and it also prevents it from puffing up into an unmanageable pillow as it contracts in the heat (a ring contracts differently than a disc -- at least that's my anecdotal evidence and I'm not about to conduct a Cooks Illustrated kind of experiment with 600 burgers to prove it).

Now, once you've made these fine patties, you have to get them outside (which was the original point here). Above you can see my basic grill kit. It includes (don't get me started on the difference between includes and comprises) a large sheet pan, a small sheet pan, and a cake pan.

Loblaws sells these aluminum pans that fit perfectly together such that the small sheet pan (9ish by 13ish) fits on the cake pan (also 9ish by 13ish), both of which fit sideways in the large sheet pan (13ish by 18ish). This gives you a covered place to put your meat (in the cake pan), a place for a small cutting board (the unused half of the large sheet pan), and a place for condiments, salt, pepper, grill oil, etc (on the small sheet pan). IT IS TOTAL GENIUS (hence this post).

Once you stack it all up, it's easy to carry outside, and then spread out to take up your whole picnic table. (The radio is a second trip, since you can't carry it all, a beer, and the radio at the same time -- ok, ok, it's not perfect, but it's pretty great).

Ok, on to grilling. If you use charcoal, you want to add some wood chips for extra-awesome smoke (so you smell like a forest fire later -- who doesn't want that?!) and flavour (note the "u" -- YAY FELLOW CANADIANS!).  I build a fire more-or-less à la BBQ guru Steve Raichlen by dumping the ashed-over coals so that they are heaped up on one side. I put all the wood chips as far from the coals as possible so that they smoke rather than burn. If they do ignite, pour some trusty beer on there to cool 'em down and keep 'em smokin'! (Note: always have a beer in hand -- it is safety equipment. Always have an opener and another beer nearby too. Safety first! I'm not kidding).

Before grilling, you need to give the grill grate a few minutes to heat up. I usually dump the coals, put the grate on, head inside and do some stuff, come back out and rotate the grate by 90 degrees (gloves on, duh), go back in and do some more stuff, then come out and scrape the grate with a grill brush. THEN it's ready to be oiled.

I always bring out a small bowl (Japanese ceramic -- très chi-chi!) filled with a wad of paper towel (not so chi-chi) and a good glug of grapeseed oil (I used to use peanut oil, but it's deadly to some people, so why bother when grapeseed has just as high a smoke point and no one has started to try and genetically modify grapes? Last time I checked, anyway). Good grief, I digress!

Anyway, use some tongs to pick-up the oily towel and coat the grill grate (don't chuck the towel after because you'll use it to clean the grill grate at the end too).

Once the grate is ready, plunk your patties over the smoke so they can soak-up some flavour (YAY "u"!). I don't buy-in to this whole leave it for x minutes and flip only once stuff (Sorry, Steve!), I usually rotate the grillee after a few minutes (to even out the heat blast from the hot end of the fire) and then flip, then rotate, then flip again depending on when I feel like it (how's that for precise instructions?). Generally, a burger takes 10-15 mins or so to cook my way, so bank on that and flip and rotate as you see fit. Note that I like to keep the flipper stuck in the grill over the heat while there are still raw bits of meat exposed. (Some people call that thing a spatula, but to me a spatula is the rubber thing you use to get the last bit of peanut butter out of the jar, and I'm NOT going to recommend that anyone use one of those to flip their burgers.) This storage spot bakes the living daylights out of the thing (spatula/flipper, your call) and prevents any cross-contamination with nasty bacteria (just keep the wood part away from the heat and you should be fine).

I put the salt and pepper on either before or after each side is grilled (it's a whim, depending on how much I am channeling Francis Mallmann and the Seven Fires!); here it is done before.

I also use this opportunity to get some garnishes going (here tomatoes and pepper, and shallots). I have a long story about trips to The Malt Shoppe in my youth, where they served amazing burgers absolutely drowned in black pepper, but this post is WAY too long already!

Inch the patties up the grill as the fire cools and the flipping progresses. Hit them with more salt and pepper if you like, too.

Add some asparagus or whatever is in season when you are about 5 to 10 minutes from serving.

Once you think the patties are done (I judge when the juices run clear after flipping, but check with your local authorities for guidelines so I don't get sued), move them back to the cooler, smoky end of the grill. You can now add some BBQ sauce (I recommend Stubb's!) to each side and let it warm up for a bit while the vegetable finishes.

Get your buns on there in the last moments (and by moments, I mean moments -- the coals will still produce Disco Inferno in a matter of minutes).

Image of perfect bun.

Dress the bun with whatever.

Add the other stuff.

Slam it together (SLAMWICH!) and add the veg.

And then say "YEEEEEEEEAAAAAAAAHHHHHH!!!!" as you take a massive chomp!

After you've eaten to your heart's content (or maybe discontent, depending...), give the grill grate another brush and oil to keep it happy until next time.

Then, pack-up all your goodies with your awesome grill kit for the return trip to the kitchen ... to do dishes :(.

Happy grilling, people!

Monday, July 9, 2012

Waterzooi

This post was inspired by a recent work lunch over at the new Clocktower Brewpub in my neighbourhood. I instantly zeroed-in on the chicken and leek crockpot on the menu, and after a quick chat with the waitress realised that it was most likely a version of the Belgian classic: waterzooi. I was right, and it was an awesome rendition: cheers Clocktower!

This recipe hails from, you guessed it, Suzanne Vandyck's The Food and Cooking of Belgium (my very favourite, and ok, I admit it, my only, Belgian cookbook). There, it is listed as Ghent-style Chicken Stew, Gentse waterzooi, and Waterzooi de poulet à la Gantoise just to cover all the bases. We'll just call it plain old waterzooi and leave it at that.

The dish can be variously described as a thick soup (my preference) or a thin stew (clearly less appetising), and can be made with fish or chicken. I went for the chicken version since my dear girls despise fish in all its forms (although the dish has a farily fishy/chowdery nature about it even in the chicken version, but please don't tell my kids).

A litte research revealed that this famous dish made it all the way to Asterix in Belgium, which is a clear validation of its historical significance. (And for those of you out there who are cycling fans, the "fast runner" in the first panel is Eddy Merckx: one of the greatest things besides beer, chocolate, and great cooking to come from that glorious country.)

ANYWAY, on to the recipe!! I thought it was simple, but when I went to the camera to download the pictures, there were 97 of them to sift through (i.e. not that simple). But it is simple! There's just a lot of chopping to do.

Ok, you'll need a chicken (not shown), several cups of chicken stock (we're talking six to eight cups, so do this on a day you make stock, take what you need, and save the rest for later), a few sprigs of thyme, two bay leaves (homegrown of course), 1 clove, 10 peppercorns, 1 garlic clove, 3 carrots, 2 onions, two leeks (white parts -- i like leeks, so make it 3), 1/4 of a celery root (or some celery), a handfull of small potatoes, 2 eggs (yolks only), 1 cup of whipping cream (YEAH!), salt and pepper of course, and some lemon and parsley for the finishing touches. You'll also want some awesome Belgian beers to keep your motor running...just sayin'.

Ok, dig out a lovely Le Creuset and plunk the chicken in there.

Add the thyme, bay, clove, crushed garlic (crush it first :D), and the peppercorns. Add enough chicken stock to submerge the bird by two thirds.

Bring that glorious melange to a boil, then lower the heat, cover the pot, and let it simmer gently for about an hour and a half.

While that's going on, get chopping -- you'll need every second (minus music selecting, beer filling, and spontaneous dancing times).

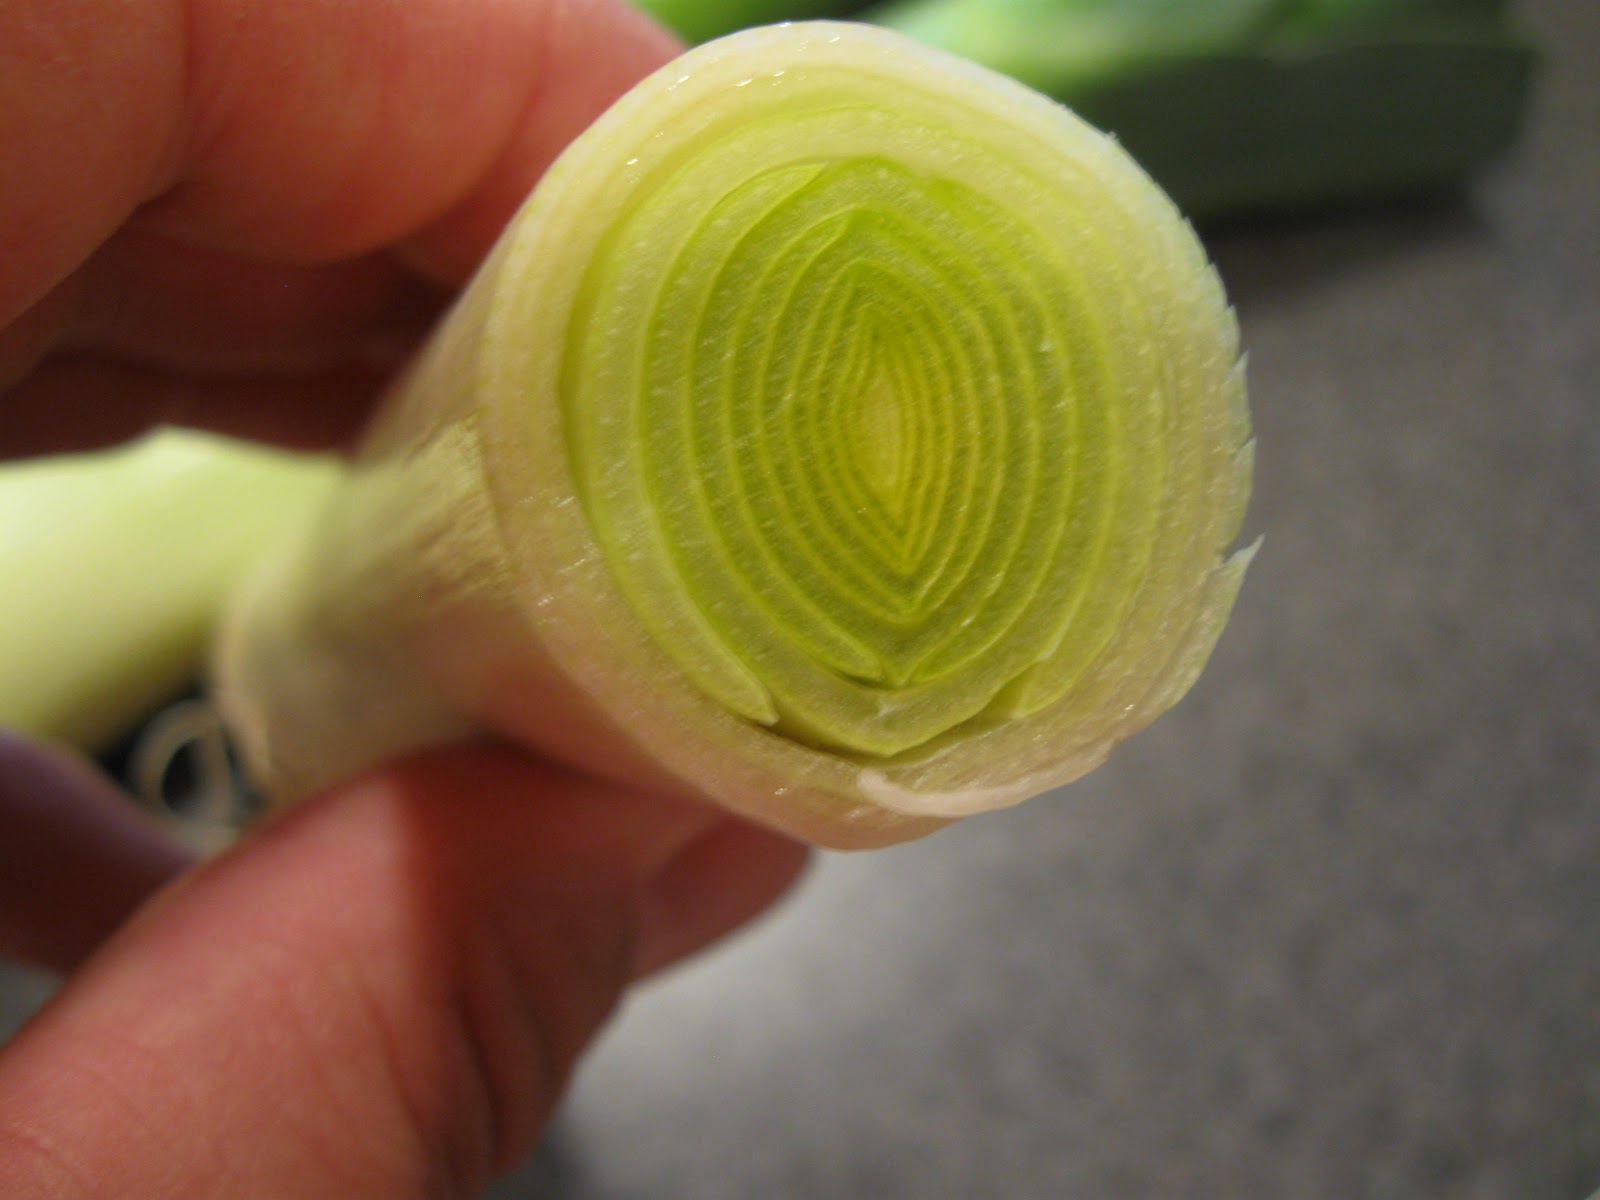
Cut the white parts off your leeks.

I judge how far to cut by when I get to a spot with no dirt in the rings.

Slice the leeks in half lengthwise, then chop finely.

Ditto with the celeriac.

Ditto with the onion.

Ditto with the carrot.

Put all 4 of these cats in a bowl, since they'll go into the pot at the same time.

Cut your spuds into small chunks (I quartered the mini-potatoes they have a Bloblaws).

Submerge the spuds in water to keep them turgid and happy until you need them.

Get a new beer going.

OK! By now your chicken should be done, and your soul should be rockin' to whatever tunes turn your crank.

Remove the chicken to a bowl. (Remember it's easier to pick up via the tailpipe.)

Cover with a lid to keep flies, kids, cats, or over-zealous houseguests out, and let it cool until you can handle chopping it up.

Now, you're going to have a GREAT, but REALLY FATTY broth. YOU MUST GET THE FAT OUT OF THERE. DO NOT SKIP THIS STEP. I AM NOT KIDDING!! (If you do skip it, the chicken fat will make lakes of yellow glop on top of the soup's cream base, and it will be really, really, unappealing -- just sayin', it's up to you, but DON'T SKIP THIS STEP!!!)

Pour the stock into whatever tall thin tempered glass containers you happen to have on hand. (If you use your Bodum, don't forget to scrub it out before breakfast!). Tall and thin helps make the fat layer thicker and easier to spoon out with a ladle or whatever other scoopy implement you have on hand. I could, of course, use one of those nifty fat separators, but I don't have one because I've never seen one made of anything but plastic -- and you know me and plastic!)

Ok, again! Now you have a gungy Le Creuset that could use a rinse, so let it cool and bit, then rinse it in hot, hot water. Or skip that and just keep going, your call!

Chuck a slab of butter in there, and start softening the leeks, onion, celeriac, and carrot.

While that's going on start stripping your chicken. Discard the skin (or give it to your sweetie pie dog!) and pretty soon you'll have...

...a pile of meat and not much else (except a God-awful mess).

After about ten minutes, your vegetables will be softened enough. Then it's time to add the stock and the spuds. Strain the stock to get any errant peppercorns, herbs, and other flotsam out of there. Let the spuds simmer away for 10 to 15 minutes (you'll still be stripping the chicken, trust me).

Time for the eggs! Separate the egg yolks -- save the whites for Pavlova! :D

Add the cream to the yolks and mix away.

Remove your pot from the heat and slowly stir in the cream and eggs.

Add the chicken, return to the heat, and stir away for about 5 minutes until thickened (but don't let it boil -- you don't want to make an omelette).

Serve with a sprinkle of parsley, a splash of fresh lemon juice, and ...

...a fine beer! Cheers!!!