I find summer squash really charming, although it's easy for them to lose that charm by the time they hit the plate. This recipe should take care of that problem. It turns those lovely looking (but also watery and insipid) little creatures into a savoury medley with very few ingredients.
This recipe comes from an old issue of Kitchen Garden (no. 14). The magazine didn't last too long in circulation, but I always though it was kind of neat the way it combined advice on growing with advice on cooking. This dish is from Rick Bayless (the Mexican food guru) whose article offers several ways to whip up zucchini. Ah, zucchini! The vigorous vegetable that sees gardeners stealing around in their neighbourhoods after dark trying to leave grocery bags of the fecund fruits on unsuspecting door steps in an effort to stem the tide of this copious crop. But no longer should you fear this spirited squash: this is a good recipe!
For this dish you'll need about a pound of summer squash (I like small ones), 1 teaspoon of salt, pepper, 5 cloves of garlic, a lime, 1/2 teaspoon of dried oregano, oil and butter for cooking, and a sprinkle of parsley if you have some.
The first thing to do is chop the zucchini into 1/2 inch cubes. Small fruits don't need to be peeled, but if you got a big honking one from your neighbour, you'll want to remove the skin first.
Sprinkle the salt on the chopped squash, mix it around, and let it drain for half an hour. This is supposed to draw the bitterness out of the fruits (which I have never noticed, really) and also helps firm them up for frying.
While that's going on, thinly slice your garlic cloves.
Then put the garlic on to fry in a tablespoon of butter and a tablespoon of oil. The idea is to slowly toast the garlic, so do this over medium low heat (the recipe calls for browning over low heat for about 3 minutes, but clearly Rick's low is not my low, since the garlic sat there forever and did nothing much -- I cranked it up to 4 to get things moving in the end.) Note the size of the pan -- you want a big one so the squash can cook in a single layer.
When the garlic is toasty, remove it to a bowl, leaving behind as much oil and butter as possible. (I usually find this step a bit of a pain, but it's worth it here to avoid burning the garlic and ruining all that nice flavour in the process.)
Hopefully half an hour has passed by now. If it has, give the zucchini a quick rinse and then pat it dry.
Crank the heat a little higher (6 on my stove) and fry the zucchini for around 10 minutes. (See how it fits in a single layer? Awesome pan!)
Stir now and then, but not too often because you want to give them a chance to brown.
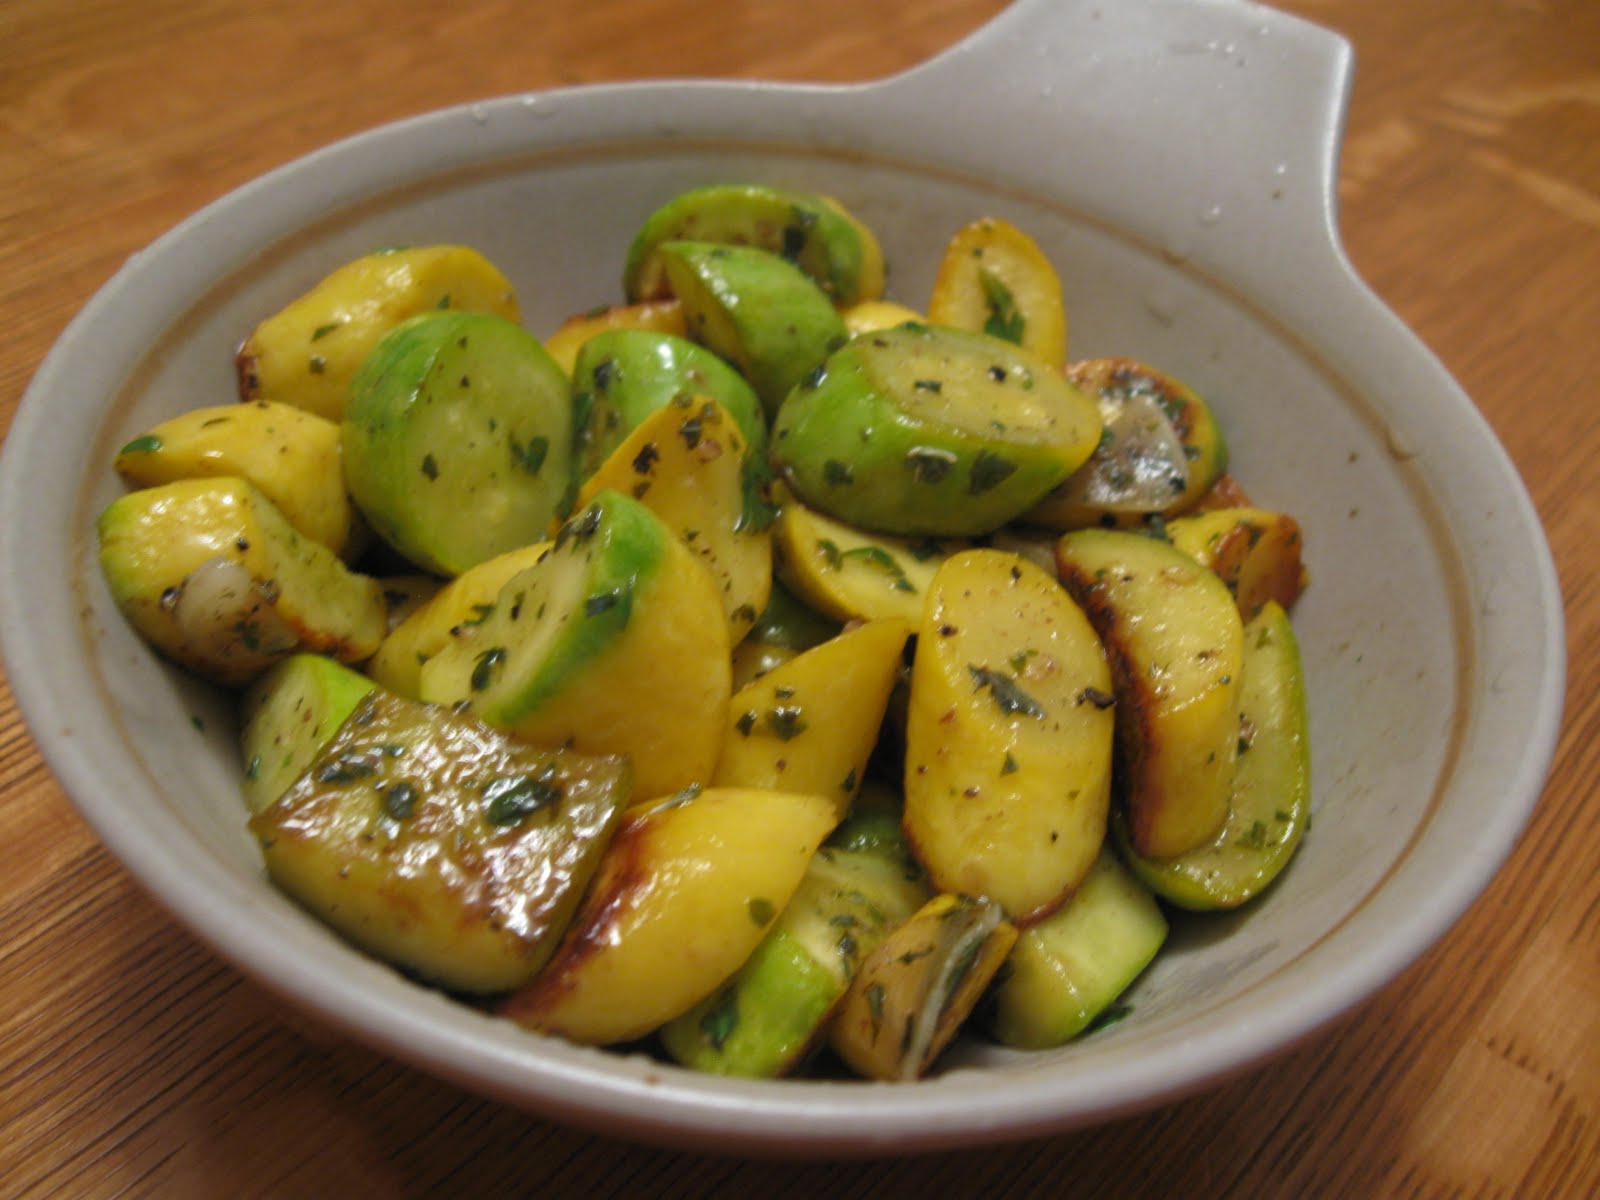
Once they look nice and toasty, squeeze the lime juice into the pan and add the oregano, browned garlic, pepper, and some minced parsley.
Stir that around, taste for salt, and serve up! This makes a nice side dish, or you could make a meal out of it by rolling it up in some tortillas with grated cheese.